AC evaporator cleaning is one of the most overlooked yet critical steps in maintaining cooling performance, indoor air quality, and energy efficiency—especially in hot climates where AC systems run for long hours. When the evaporator coil becomes coated with dust and debris, it forms a heat exchange barrier, triggers ice buildup, reduces cooling efficiency, and often causes unpleasant odors. Understanding how this happens and how to address it safely can prevent repeated breakdowns and costly repairs.
Table of Contents
ToggleWhy AC Evaporator Cleaning Is So Important
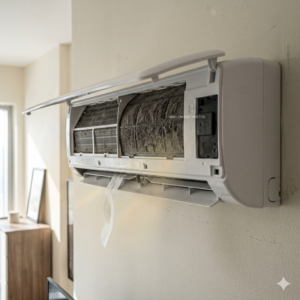
The evaporator coil sits inside your indoor unit, typically within the air handler or above the furnace section in split systems. Its main job is to absorb heat from indoor air. Warm air passes over the coil, refrigerant inside the coil absorbs that heat, and cool air is circulated back into your space.
When the coil is clean, heat transfer happens efficiently. But when dust builds up, several problems start to appear:
- Heat exchange barrier: Dust acts like insulation, preventing proper heat absorption.
- Ice-up effect: Restricted airflow and poor heat transfer can cause condensation to freeze on the coil.
- Reduced cooling efficiency: The system runs longer to achieve the same temperature.
- Odor issues: Moisture combined with organic debris can create “dirty sock” smell.
These issues often develop gradually, so many homeowners only notice them when cooling performance significantly drops.
Understanding Coil Location and Access
Before discussing cleaning, it is important to clarify where the evaporator coil is located and how it differs from the outdoor condenser.
Indoor Evaporator vs Outdoor Condenser
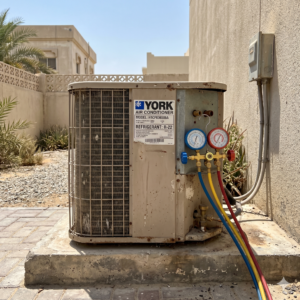
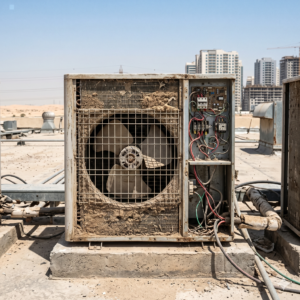
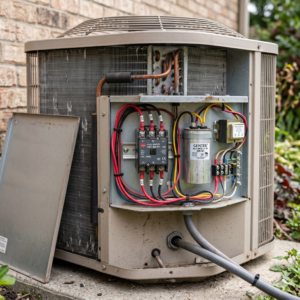
The evaporator coil is located inside your home, typically within the air handler cabinet. The outdoor unit contains the condenser coil, which releases heat to the outside air.
Evaporator cleaning refers specifically to the indoor coil, not the outdoor unit.
Common Coil Configurations
Most residential systems use:
- A-coil: Shaped like the letter “A” for larger surface area.
- Slab coil: Flat configuration often found in compact systems.
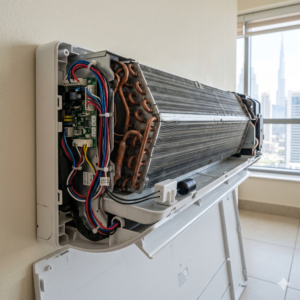
When opening the air handler, homeowners should expect to see a tightly packed aluminum fin structure. These fins are delicate and easily bent, which is why careful technique matters during cleaning.
Self-Diagnostic Checklist Before Cleaning
Before deciding on AC evaporator cleaning, consider the following checklist:
- Is airflow weaker than usual from vents?
- Does the AC run for unusually long periods without reaching set temperature?
- Are certain rooms warmer than others?
- Do you notice a musty or “dirty sock” odor when the AC starts?
- Has electricity consumption increased without clear reason?
If you answer yes to several of these, a dirty evaporator coil may be part of the problem.
How Dust Causes Ice Formation
Dust buildup restricts airflow. When less warm air passes over the coil, the refrigerant inside does not absorb enough heat. As a result, coil temperature drops below freezing. Condensation then turns into ice.
This ice layer further blocks airflow, creating a cycle:
- Restricted airflow → lower coil temperature
- Lower temperature → ice formation
- Ice formation → even weaker airflow
Eventually, cooling stops completely until the ice melts.
Safe Step-by-Step DIY Framework
Basic evaporator cleaning can be done carefully by homeowners, but safety must come first.
Step 1 Turn Off Power
Shut off the breaker connected to the indoor unit. Never work on the coil with power active.
Step 2 Prepare Basic Tools
- No-rinse evaporator coil cleaner
- Soft brush (non-metal)
- Fin comb (optional, for bent fins)
- Protective gloves and eyewear
Step 3 Access the Coil Carefully
Open the access panel of the air handler. Avoid touching aluminum fins directly.
Step 4 Apply Cleaner Gently
Spray no-rinse cleaner evenly across the coil surface. Allow it to foam and break down debris. Avoid aggressive scrubbing.
Step 5 Brush Lightly If Needed
If debris is visible, use a soft brush with gentle strokes. Aluminum fins bend easily, and bent fins restrict airflow.
Step 6 Check and Clear Condensate Drain Line
Clogged drain lines can cause water overflow. Use mild suction or approved cleaning solution to clear blockages.
Step 7 Reassemble and Restore Power
Once dry and secure, close the panel and restore power.
Professional vs DIY Cleaning Comparison
While DIY cleaning addresses surface dirt, professional service offers deeper access and tools.
| Factor | DIY Cleaning | Professional Cleaning |
|---|---|---|
| Access Depth | Limited to visible surface | Both sides of coil accessible |
| Equipment | Basic spray cleaner | Commercial-grade coil cleaner & flushing tools |
| Risk Level | Risk of fin damage | Handled by trained technician |
| Coverage | No workmanship coverage | Service accountability and inspection |
In terms of cost, professional evaporator cleaning is usually positioned between basic maintenance and moderate repair pricing categories, depending on system accessibility and contamination level. It is more affordable than major repairs but higher than simple filter replacement.
Preventive Strategies
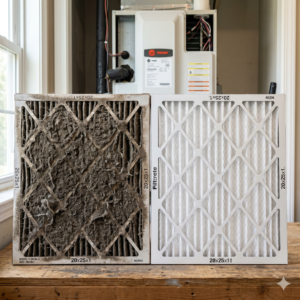
Use Proper Filter Fit
Ensure filters fit tightly. Gaps allow dust bypass.
Select Appropriate MERV Rating
MERV 8–11 is typically balanced for airflow and filtration in residential systems.
Maintain Airflow Balance
Blocked vents or closed registers disrupt airflow and contribute to freezing.
Routine Inspection Timing
Inspect coils at least once per year, especially before peak summer.
Control Moisture
Address humidity issues to prevent microbial growth and odor.
If/Then Troubleshooting Logic
If freezing continues after cleaning: check airflow restrictions or filter condition again.
If freezing persists with clean airflow: refrigerant levels or pressure imbalance may be involved.
If AC still runs constantly: thermostat calibration or duct imbalance should be evaluated.
If odor continues: deeper microbial treatment may be required.
In these cases, escalation to licensed service is recommended to prevent further damage.
When AC Evaporator Cleaning Should Be Handled Properly
Ignoring evaporator coil contamination can reduce cooling performance, increase energy consumption, trigger ice formation, and lead to permanent compressor strain. Bio On Air can assess evaporator condition, perform safe and thorough cleaning, and guide you on preventive steps. Addressing the issue early helps protect air quality and system lifespan. If you are unsure about your AC condition, you can use the WhatsApp or Call button at the top right of this page to discuss your symptoms with our team.
Conclusion
AC evaporator cleaning plays a critical role in maintaining cooling efficiency, preventing ice buildup, and preserving indoor air quality. Dust creates a heat exchange barrier that impacts performance and increases system strain. While basic DIY cleaning is possible with proper precautions, professional service provides deeper access and reduced risk. With preventive maintenance and timely inspection, you can avoid major breakdowns and ensure stable cooling throughout the year.